Create an Event
2 min read
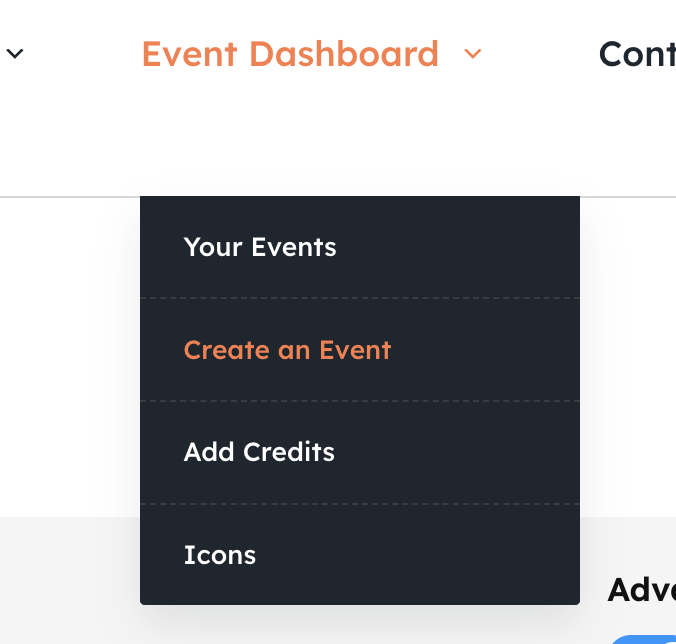
There are 2 ways you can create a new event:
Once you have clicked an option the Event Editor will open which has a number of tabs you can click to move between. The number fo tabs that are displayed depends on whether Advanced Mode is turned on or not.
Advanced Mode #
Advanced mode will show you more options in the event editor and gives you further control over how tickets are displayed and opens up further features. Choose Advanced mode if you’re quite familiar with how Snappy Tickets works, otherwise leave it turned off.
The default setting is governed by an option in your Event Settings. You can override this in the event editor itself.

Advanced mode OFF

Advanced mode ON
Tabs #
The Event Editor is split into several groups called tabs.
Description
General event info such as title, category, description, venue
Dates
Start and End Date/Time and Timezone
Registration
Create a form to collect registration information from the buyer
Tickets
Create your tickets (eg, Fixed Price, Donation, FREE etc)
Info
Organiser, Notes to Customer, T&Cs, FAQ
Controls
Override payment gateways, Event Status, Splash Message, Fundraiser options
Powered by BetterDocs


